Securing ISPConfig Admin Panel the Easy Way
The latest ISPConfig hosting panel includes support for Let’s Encrypt free SSL certificates. This makes it easy to secure all domains added to the panel, but it doesn’t have an option to generate a cert for the actual control panel login.
Rather than manually installing and configuring a new cert through the command line, there is an easier option.
The hosting panel’s domain name can be registered in ISPConfig like any other domain name, and a Let’s Encrypt cert can be generated for it.
Once the domain has been added and secured, we can tell apache to proxy all requests to the correct port for ISPConfig.
The following instructions are tested on Ubuntu 18 running Apache
Enable Apache Reverse Proxy
First, we need to enable Apache’s reverse proxy. Run the following commands:
sudo a2enmod proxy_http
sudo service apache2 restart
Register the Panel Domain
Then register your panel domain in ISPConfig. If you log in at http://server.domain.com:8080 then add server.domain.com as a new domain.
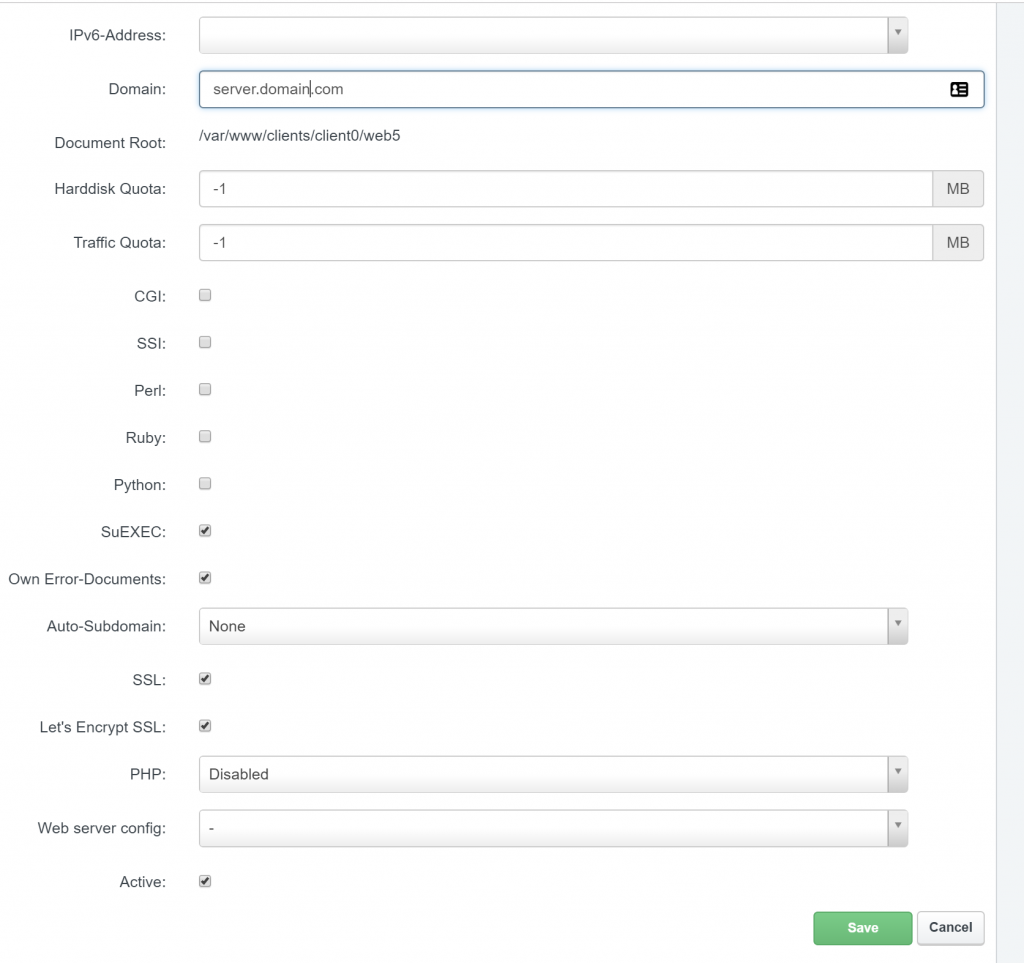
No subdomain or PHP version is needed as we will simply be proxying the requests to the correct place.
Proxy Requests to the Correct Port
In the website settings, open the options tab and scroll down to the Apache Directives box.
Paste the following into the text area, changing the port if ISPConfig isn’t configured to run on 8080:
<Proxy *>
Order deny,allow
Allow from all
</Proxy>

SSLProxyEngine On
ProxyRequests On
ProxyPreserveHost On
ProxyPass /stats !
ProxyPass / https://127.0.0.1:8080/
ProxyPassReverse / https://127.0.0.1:8080/
And that’s it.
You can now browse to https://server.domain.com (Without a port) and view the control panel using Let’s Encrypt.